Web3 For Beginners: How To Buy Ethereum NFTs
A step-by-step guide on how to mint an Ethereum NFT.
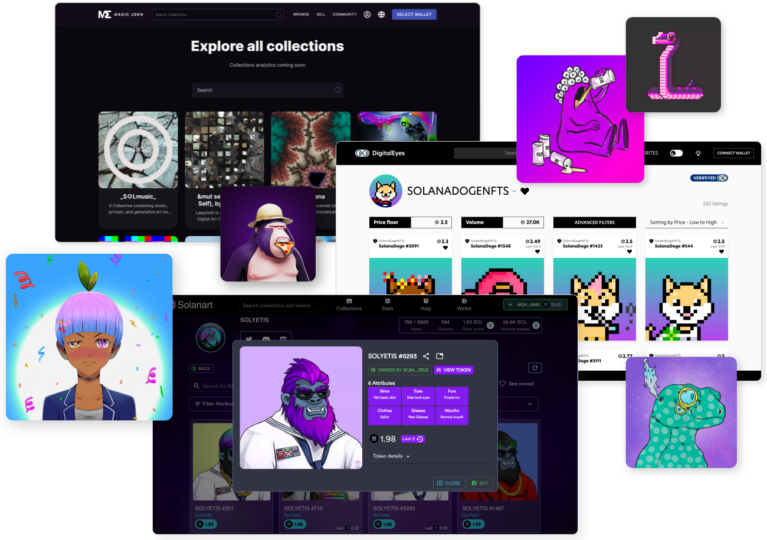
This article outlines how to mint an NFT from a project’s site in 3 steps.
First, let’s get some confusing terms out of the way.
What does minting really mean? Simply put, minting an NFT is when you buy the NFT directly from the project website.
You can compare Minting an NFT directly from the project site to:
- Buying the new Supreme drop directly from Supreme.
- Buying a Telfar when they release a new bag on their site.
- Buying the new iPhone 13 from Apple.
Why mint directly from the project website? This means you are the first person to own the NFT and you are the one who is putting it on the blockchain. You also pay the fee to put it on the blockchain.
Before you buy an NFT let’s make sure you are set up and ready to go. Here’s what you’ll need to mint an Etherum NFT:
- Ethereum Wallet — Examples include MetaMask and Rainbow Wallet. If you don’t have an Ethereum wallet set up, it’s ok! Check out my helpful guide to setting up an Ethereum wallet here: LuLu’s NFT Toolbox.
- Ethereum — Ethereum in your wallet. This will be used to pay the mint fee. Mint fee = price that the project charges to mint the NFT in Ethereum. Gas fee = network fees associated with Ethereum.
Let’s dive in! Now that you have your wallet setup and we’ll go into how to mint an NFT.
Most of the websites you mint on are somewhat similar so the process is generally the same. For this article, I’ll be using MusicFund for my examples.
Step 1: Go to the Project’s Site
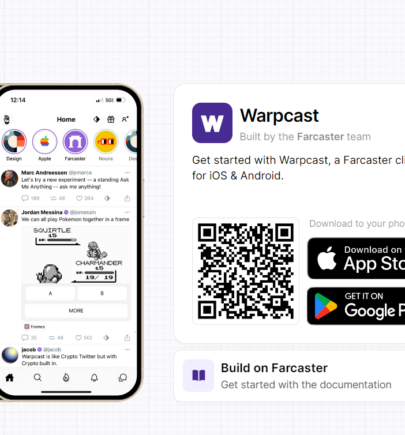
Make sure you are minting from the official project website! Here’s an example of a minting page:

Verify that you are using the correct URL before you mint. You can verify the URL for yourself through the project’s profiles and presence (Discord, Twitter, etc.) Usually, the Discord will have an “Official Links” channel or highlighted post that will list out all of the official links for the website, Twitter, Instagram, and Opensea collection. Here’s an example:

A note from me — Triple-check that you are minting from the right site. I check that I’m using the right site through the project’s community. I head over to the projects Twitter, Discord, Instagram, etc. to see the vibes. Overall don’t let this stress you out and trust your gut!
Step 2: Connect your Wallet

Now that you have arrived at the official minting page you should see a button on the page to connect your wallet. Here’s an example:
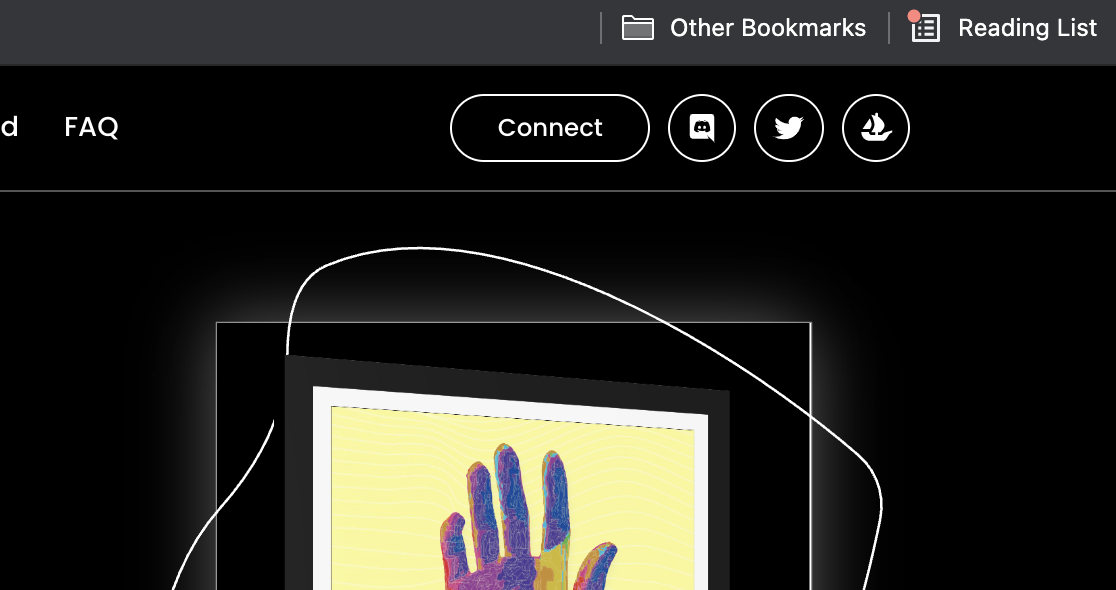
Once clicked, MetaMask (or your wallet of choice) should appear asking you to approve the connection to the website. After the prompt states you are approved and connected your wallet is officially connected. Now you’re ready for the next step!
Step 3: Buy your NFT
Now that your wallet is connected you can now mint an NFT.
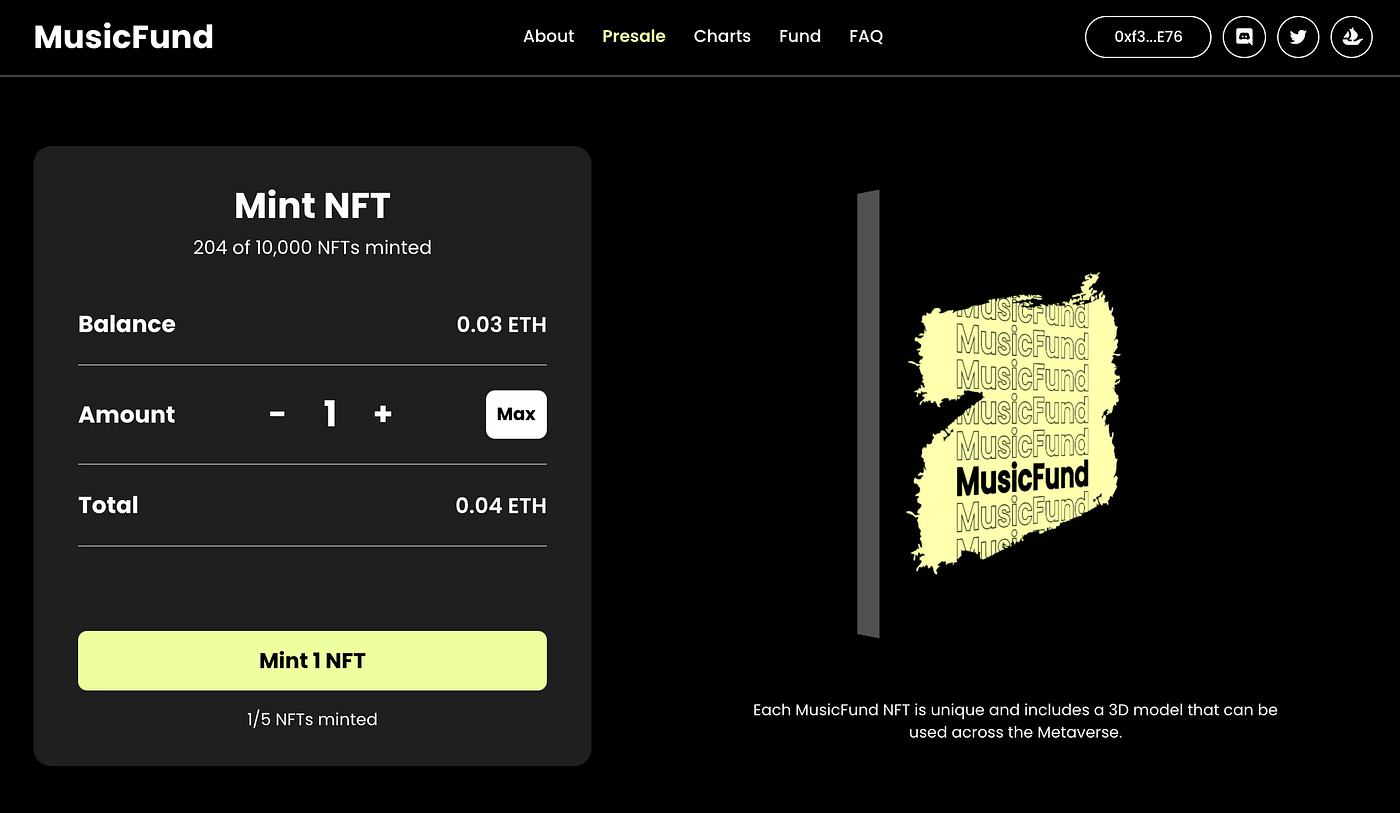
Hit the “Mint” button and get ready to see some pop-ups from Metamask.
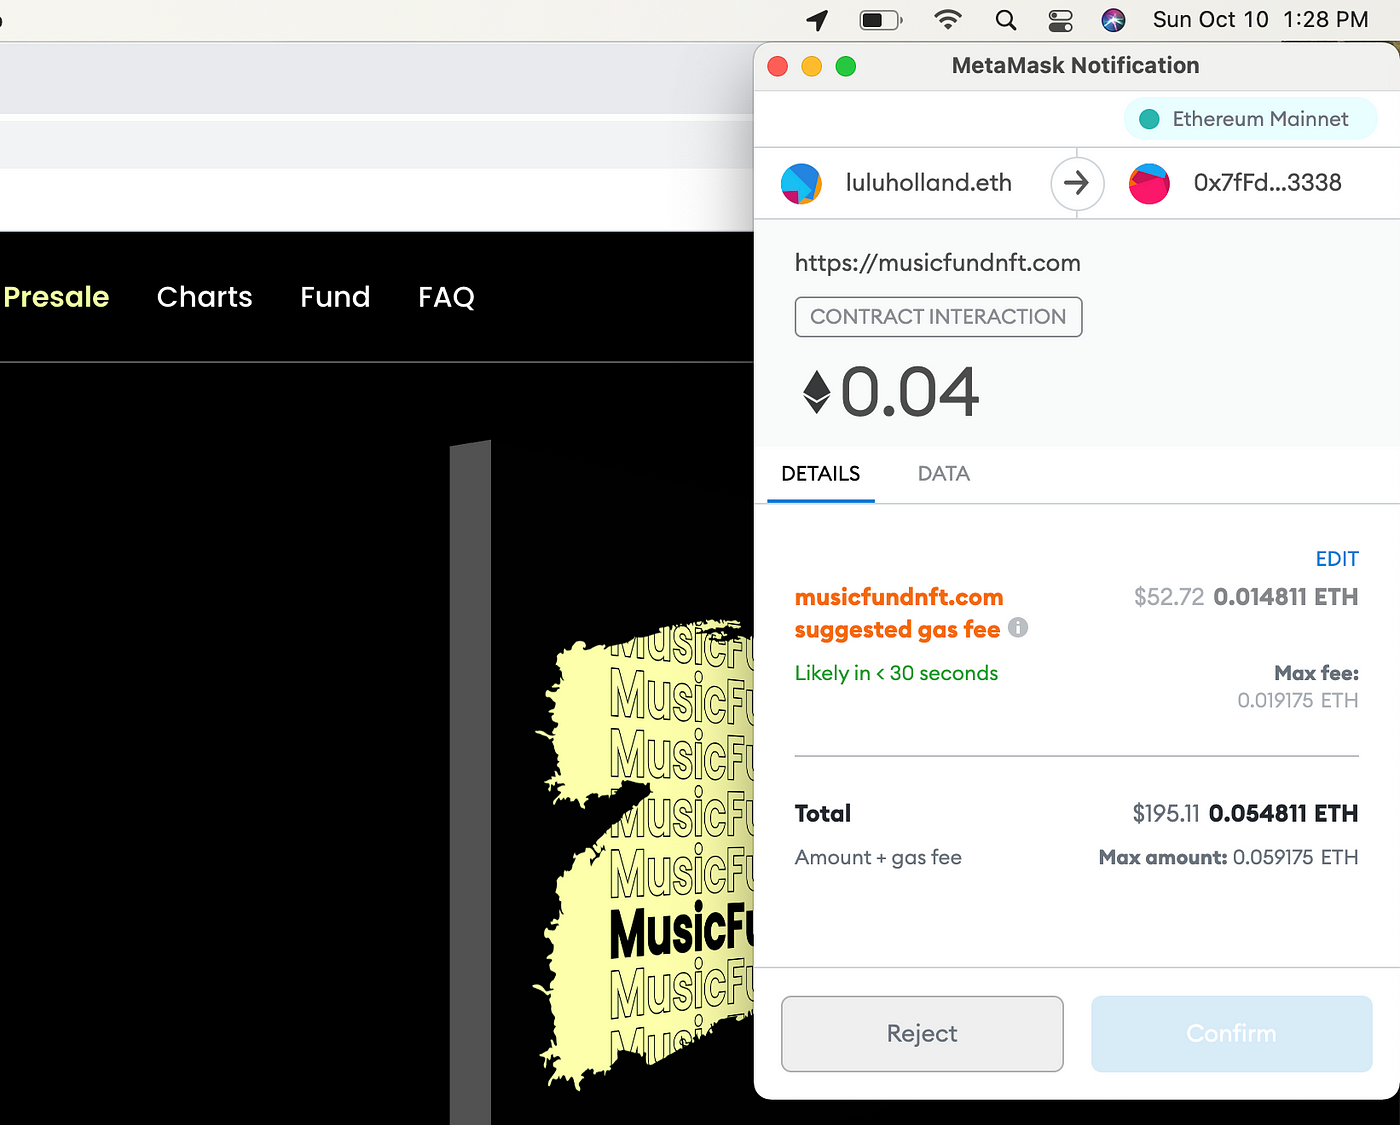
The Metamask pop-up shows you a few things:
- Gas fee = the network fee
- Total = cost of the NFT
- Amount + Gas fee = total amount of Etherum you will pay
Hit “confirm” to mint your NFT.
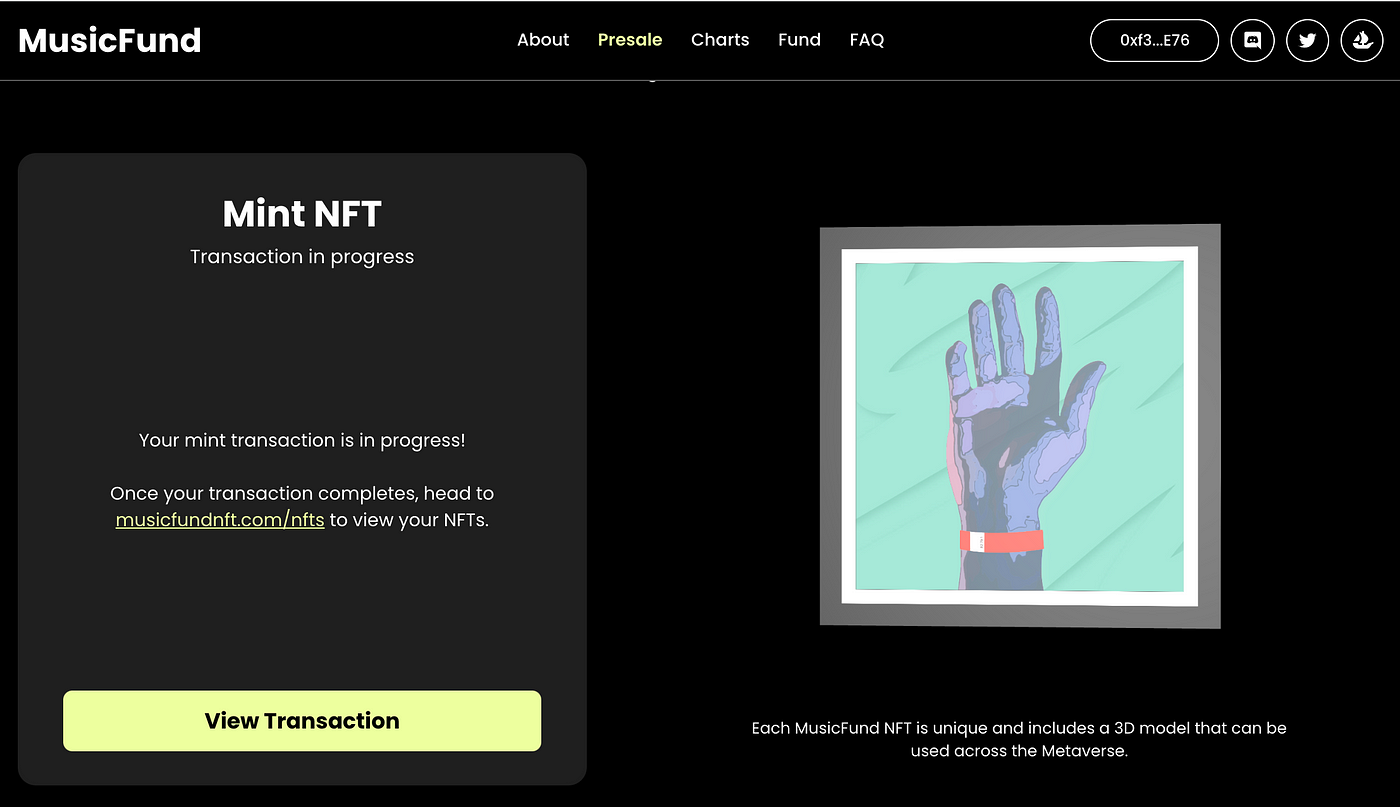
Once you confirm, the transaction is being processed and you will be able to view your new NFT shortly!
A note from me — some projects will have a specific revealing or unveiling process to show you the NFT. If you mint from one of these projects, you might not be able to view your NFT right away. MusicFund is an example of this.
Check Out Your New NFT!
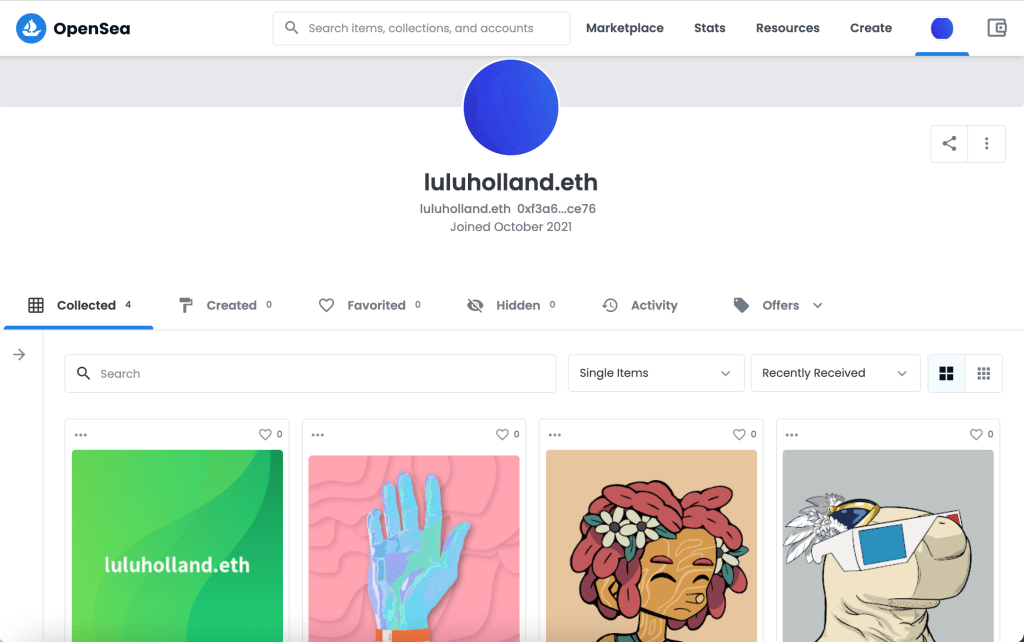
Now that you have minted your new NFT you gotta go look at it. You can view your NFT through your wallet and on OpenSea.
Your Ethereum wallet — In this example I used MetaMask. In the MetaMask mobile app, you can click on the NFTs tab to view all of your NFTs.
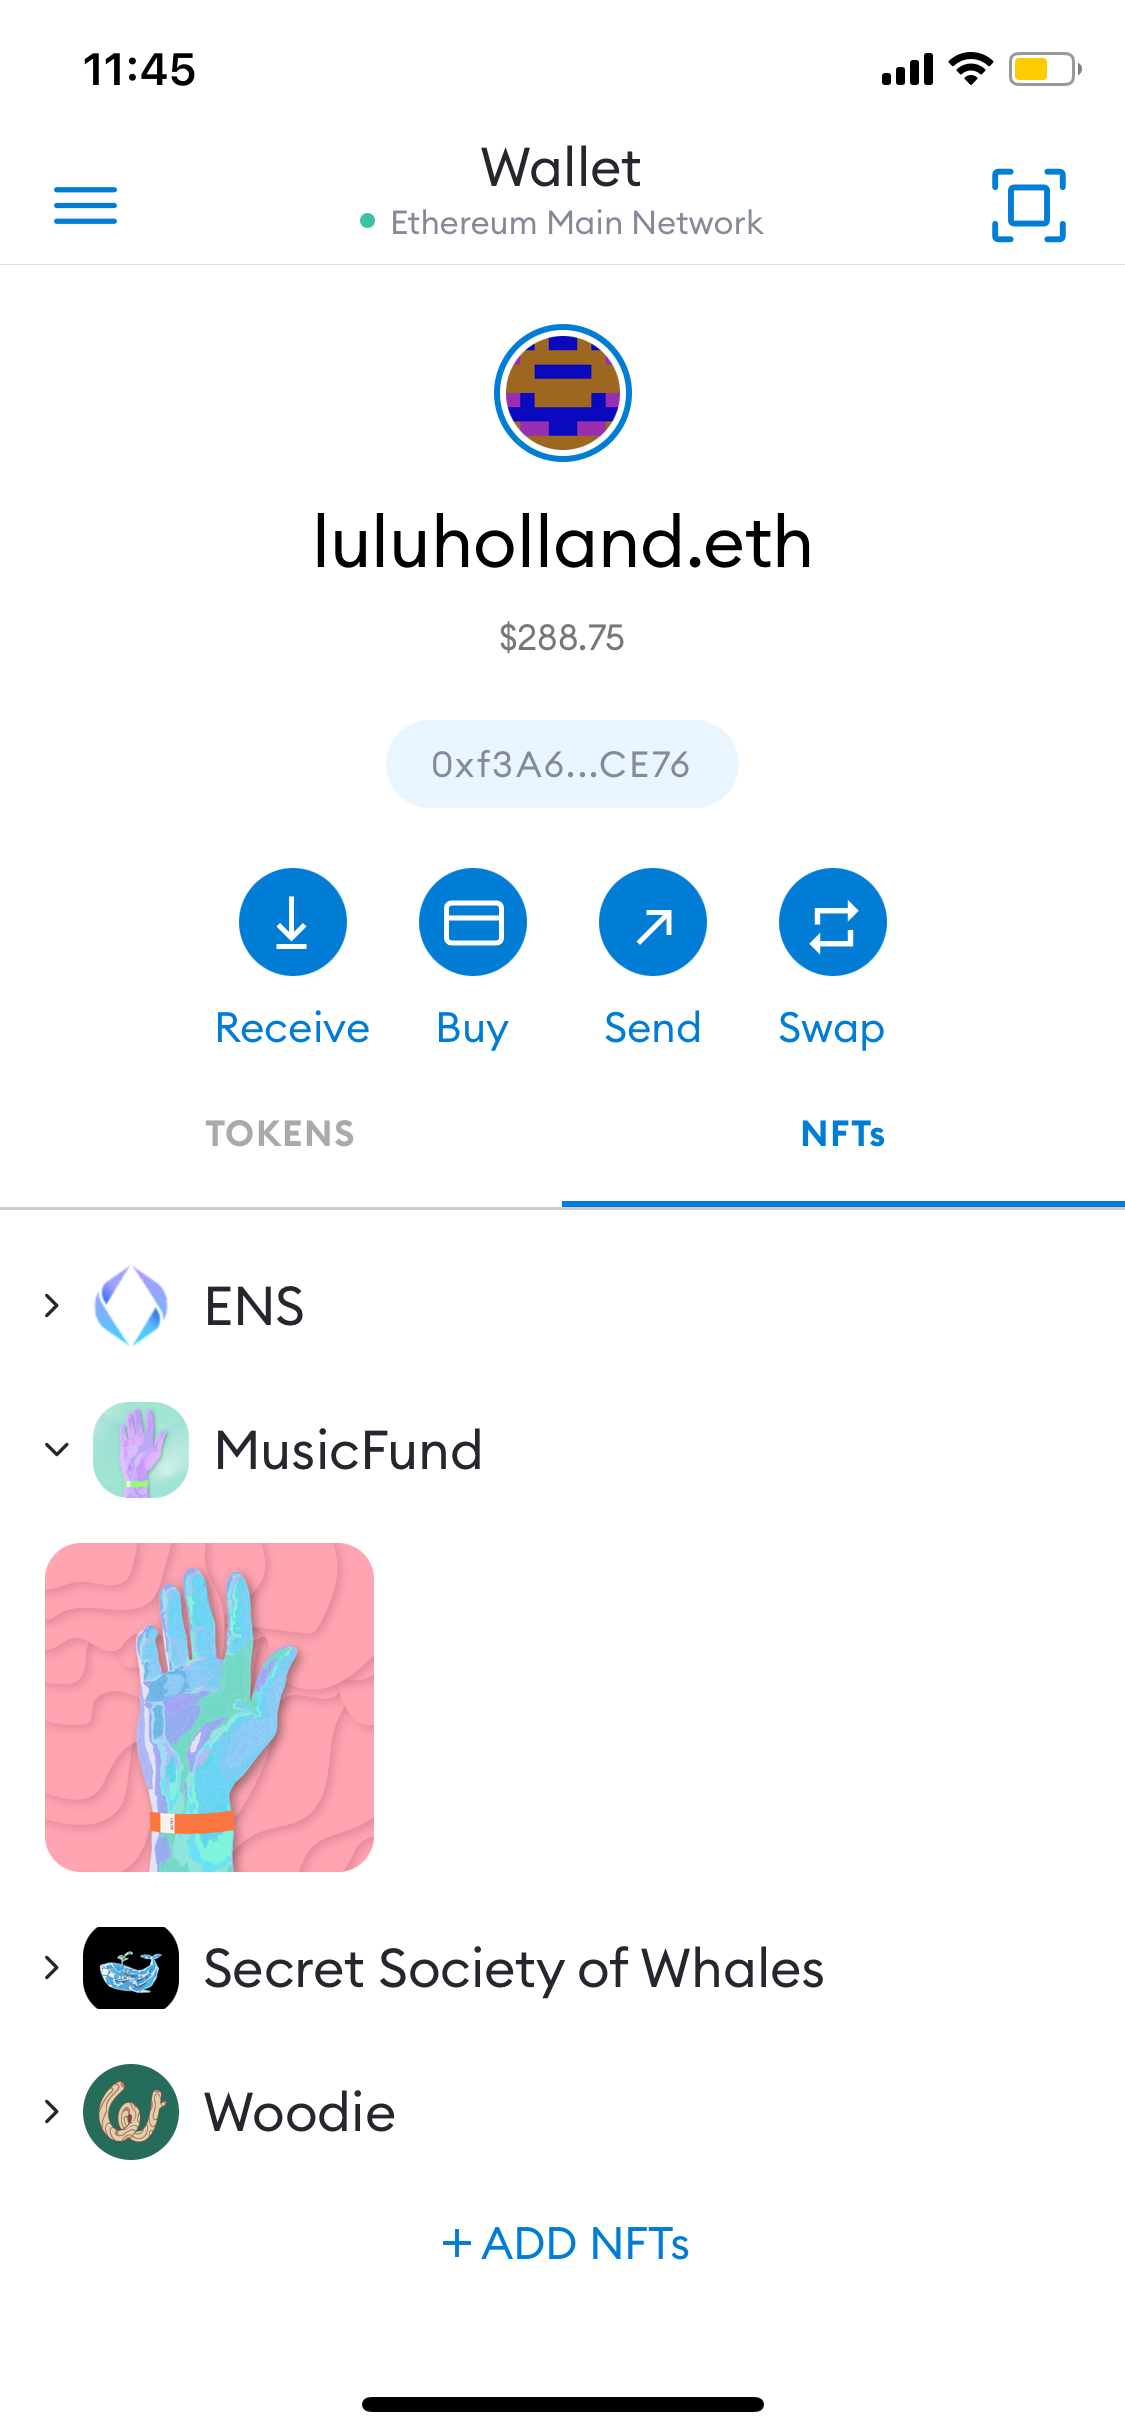
A note from me — Currently MetaMask does not have a way to view your NFTs through the chrome extension. You should use the MetaMask mobile app to view your NFTs.
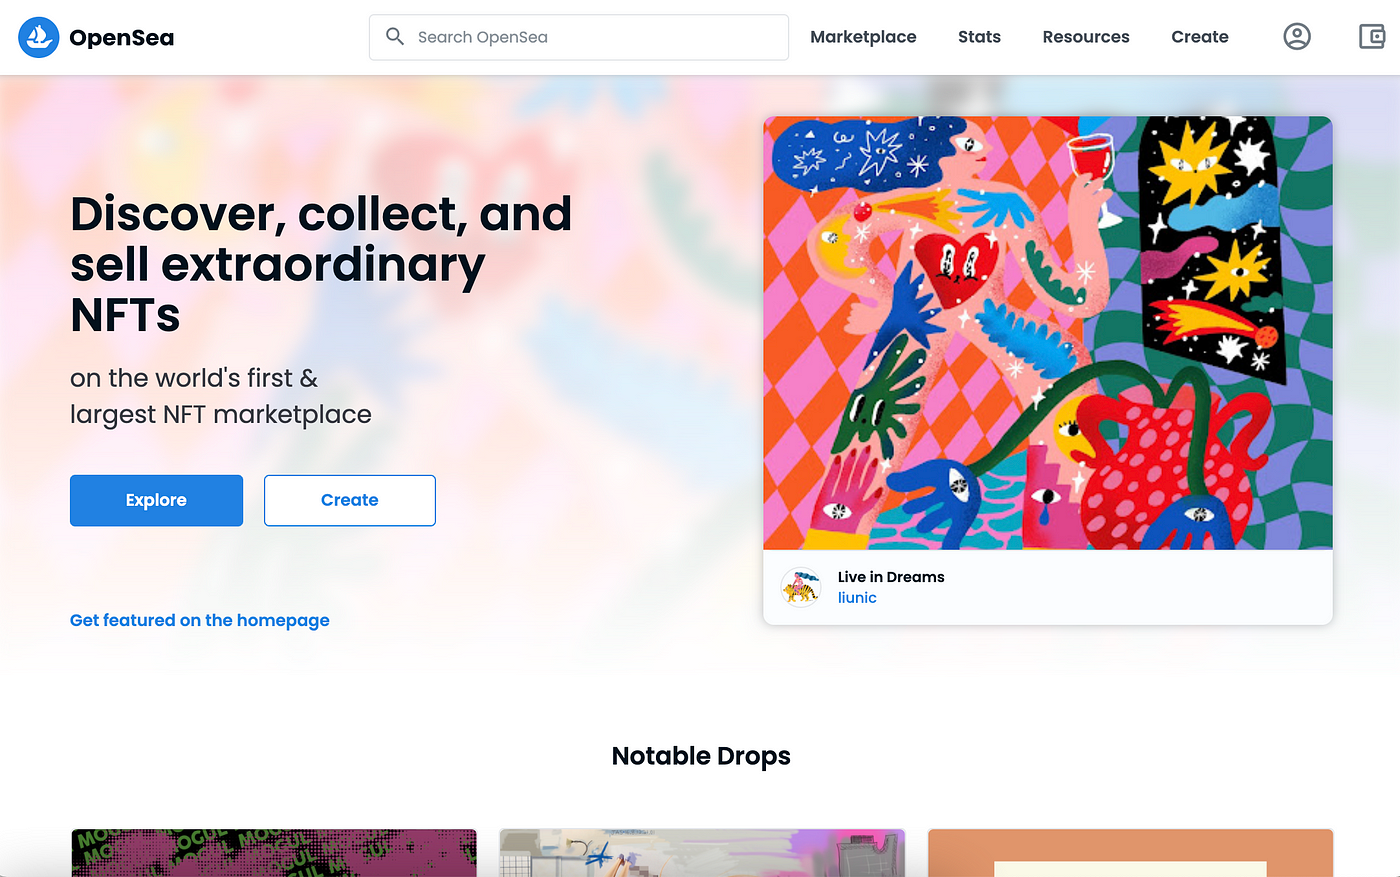
Opensea — Head to OpenSea.io, connect your wallet, and click the profile icon in the upper right-hand corner.

Ta-da! Now you know how to mint an NFT!
If you found this helpful or used this article to mint an NFT let me know how your experience was on Twitter!
To learn more about Ethereum Gas see this article. To learn more about the tools you need to buy an NFT see this article.
I’m excited about building a welcoming and friendly environment in Web3 and thank you for reading!
Leave a Reply
Latest News


More from GCR
Featured GCR Announcement GCR Exclusive GCR Quarterly Review
GCR Market and Investment Trends ...
By Global Coin Research Team Highlights GCR is a research and investment community. As a collective, we source investments, conduct research and diligence, and make ...

The Landscape of Crypto Intents
Introduction The current blockchain paradigm requires users to devise a specific series of transactions to achieve a desired outcome. However, crafting transactions can be complicated. ...
Near AI x HZN – ...
In our last article, we outlined Near’s vision to become the hub for User-Owned AI and the steps that it is taking to develop an ...